 CONNECTICUT
Prepare an estimate around the actual site.
Start with the project town, intended basement use, number of openings, and the current construction stage. Provide wider views of the room and exterior work area, not only the existing window. Identify whether the request is for an installed system, product supply, changes to an existing well, or a larger basement-entry project.
Explain who holds the main contract and who will approve the egress scope. A homeowner, general contractor, architect, and restoration company may all be involved, but one clear communication path helps prevent conflicting instructions. Identify drawings and product selections already issued so the assessment begins from the same information your crew is using.
- Current drawings, known measurements and opening locations.
- Foundation condition, nearby services and previous alterations that are already known.
- Access route, gates, paving, planting, stairs and other site constraints.
- Water history and any drainage work already in the general project scope.
- Requested timing, inspection milestones and work being performed by other trades.
Write down who does what.
The proposal should identify the selected window and exterior system, the foundation and excavation work, the drainage items, and the inside/outside finishes included. Avoid treating ‘complete installation’ as a substitute for a defined scope. Check the items that sit between trades, because those are the easiest to miss.
Coordinate any electrical, heating, plumbing, structural-design, or separate waterproofing work with the responsible professional. Identify whether wall repair ends at a ready-for-paint surface or includes painting, and whether exterior restoration covers grading only, lawn, planting, or hardscape. Record changes in writing before they affect another trade.
| Interface | Agree before scheduling | Useful record |
|---|---|---|
| Design and permits | Who supplies drawings, submits the application and coordinates required inspections | Current drawing issue and named permit contact |
| Services and access | Who handles utilities, trade relocations, gates and site protection | Pre-installation readiness list |
| Interior finishes | Limits of trim, wall repair, paint, flooring and protection | Written finish scope |
| Exterior restoration | Soil removal, grade, planting, lawn, paving and access-route repair | Restoration scope and exclusions |
| Changes | Who authorizes extra work and communicates revised information | Written change record |
Coordinate the installation with the wider schedule.
Agree a sequence that allows the opening and exterior system to be assessed before permanent finishes conceal relevant work. Ask which inspection stages apply and who requests them. Do not assume that a general target date is a confirmed installation commitment or that one photograph establishes a standard duration.
When your crew is finishing the basement, coordinate wall framing, insulation, trim, and room layout with the final window position and operation. Outside, sequence paving, planting, fencing, and similar work around the agreed well location and access requirements.
If the project is occupied, explain the hours of access, pets, stored belongings, and the homeowner communication plan. Discuss protection, daily work-area arrangements, and the condition in which each phase will be handed back. Clarify who contacts the owner when the schedule changes.
Hold a short pre-installation review.
Confirm that the current scope, products, decision-makers, and relevant approvals are understood. Walk the interior and exterior routes with the team and identify what needs to be moved or protected. Bring any newly discovered foundation conditions or water issues into the discussion before work begins.
Use the readiness list as a coordination tool, not a substitute for the installer’s assessment. Where the site differs from the information used to price the project, ask for the effect on design, scope, cost, and timing to be established before proceeding.
- Opening and well location match the latest agreed plan.
- Named contacts can answer design, site, and commercial questions.
- Interior belongings and exterior access arrangements are agreed.
- Inspection responsibilities and document availability are confirmed.
- Separate trades and finish/restoration boundaries are identified.
Close out the scope and the operating system.
Arrange a demonstration of the window, screen, cover, grate, and ladder or steps actually supplied. Make sure the owner understands which space must remain usable around the opening. Request the available product instructions and the project-specific records needed for your closeout package.
Review the agreed finishes and exterior restoration against the written scope, then identify any outstanding items through the contract’s normal process. Keep warranty and service information tied to the supplied products. A project handover is not complete merely because the window looks finished in a photograph.
Look at the project in context.
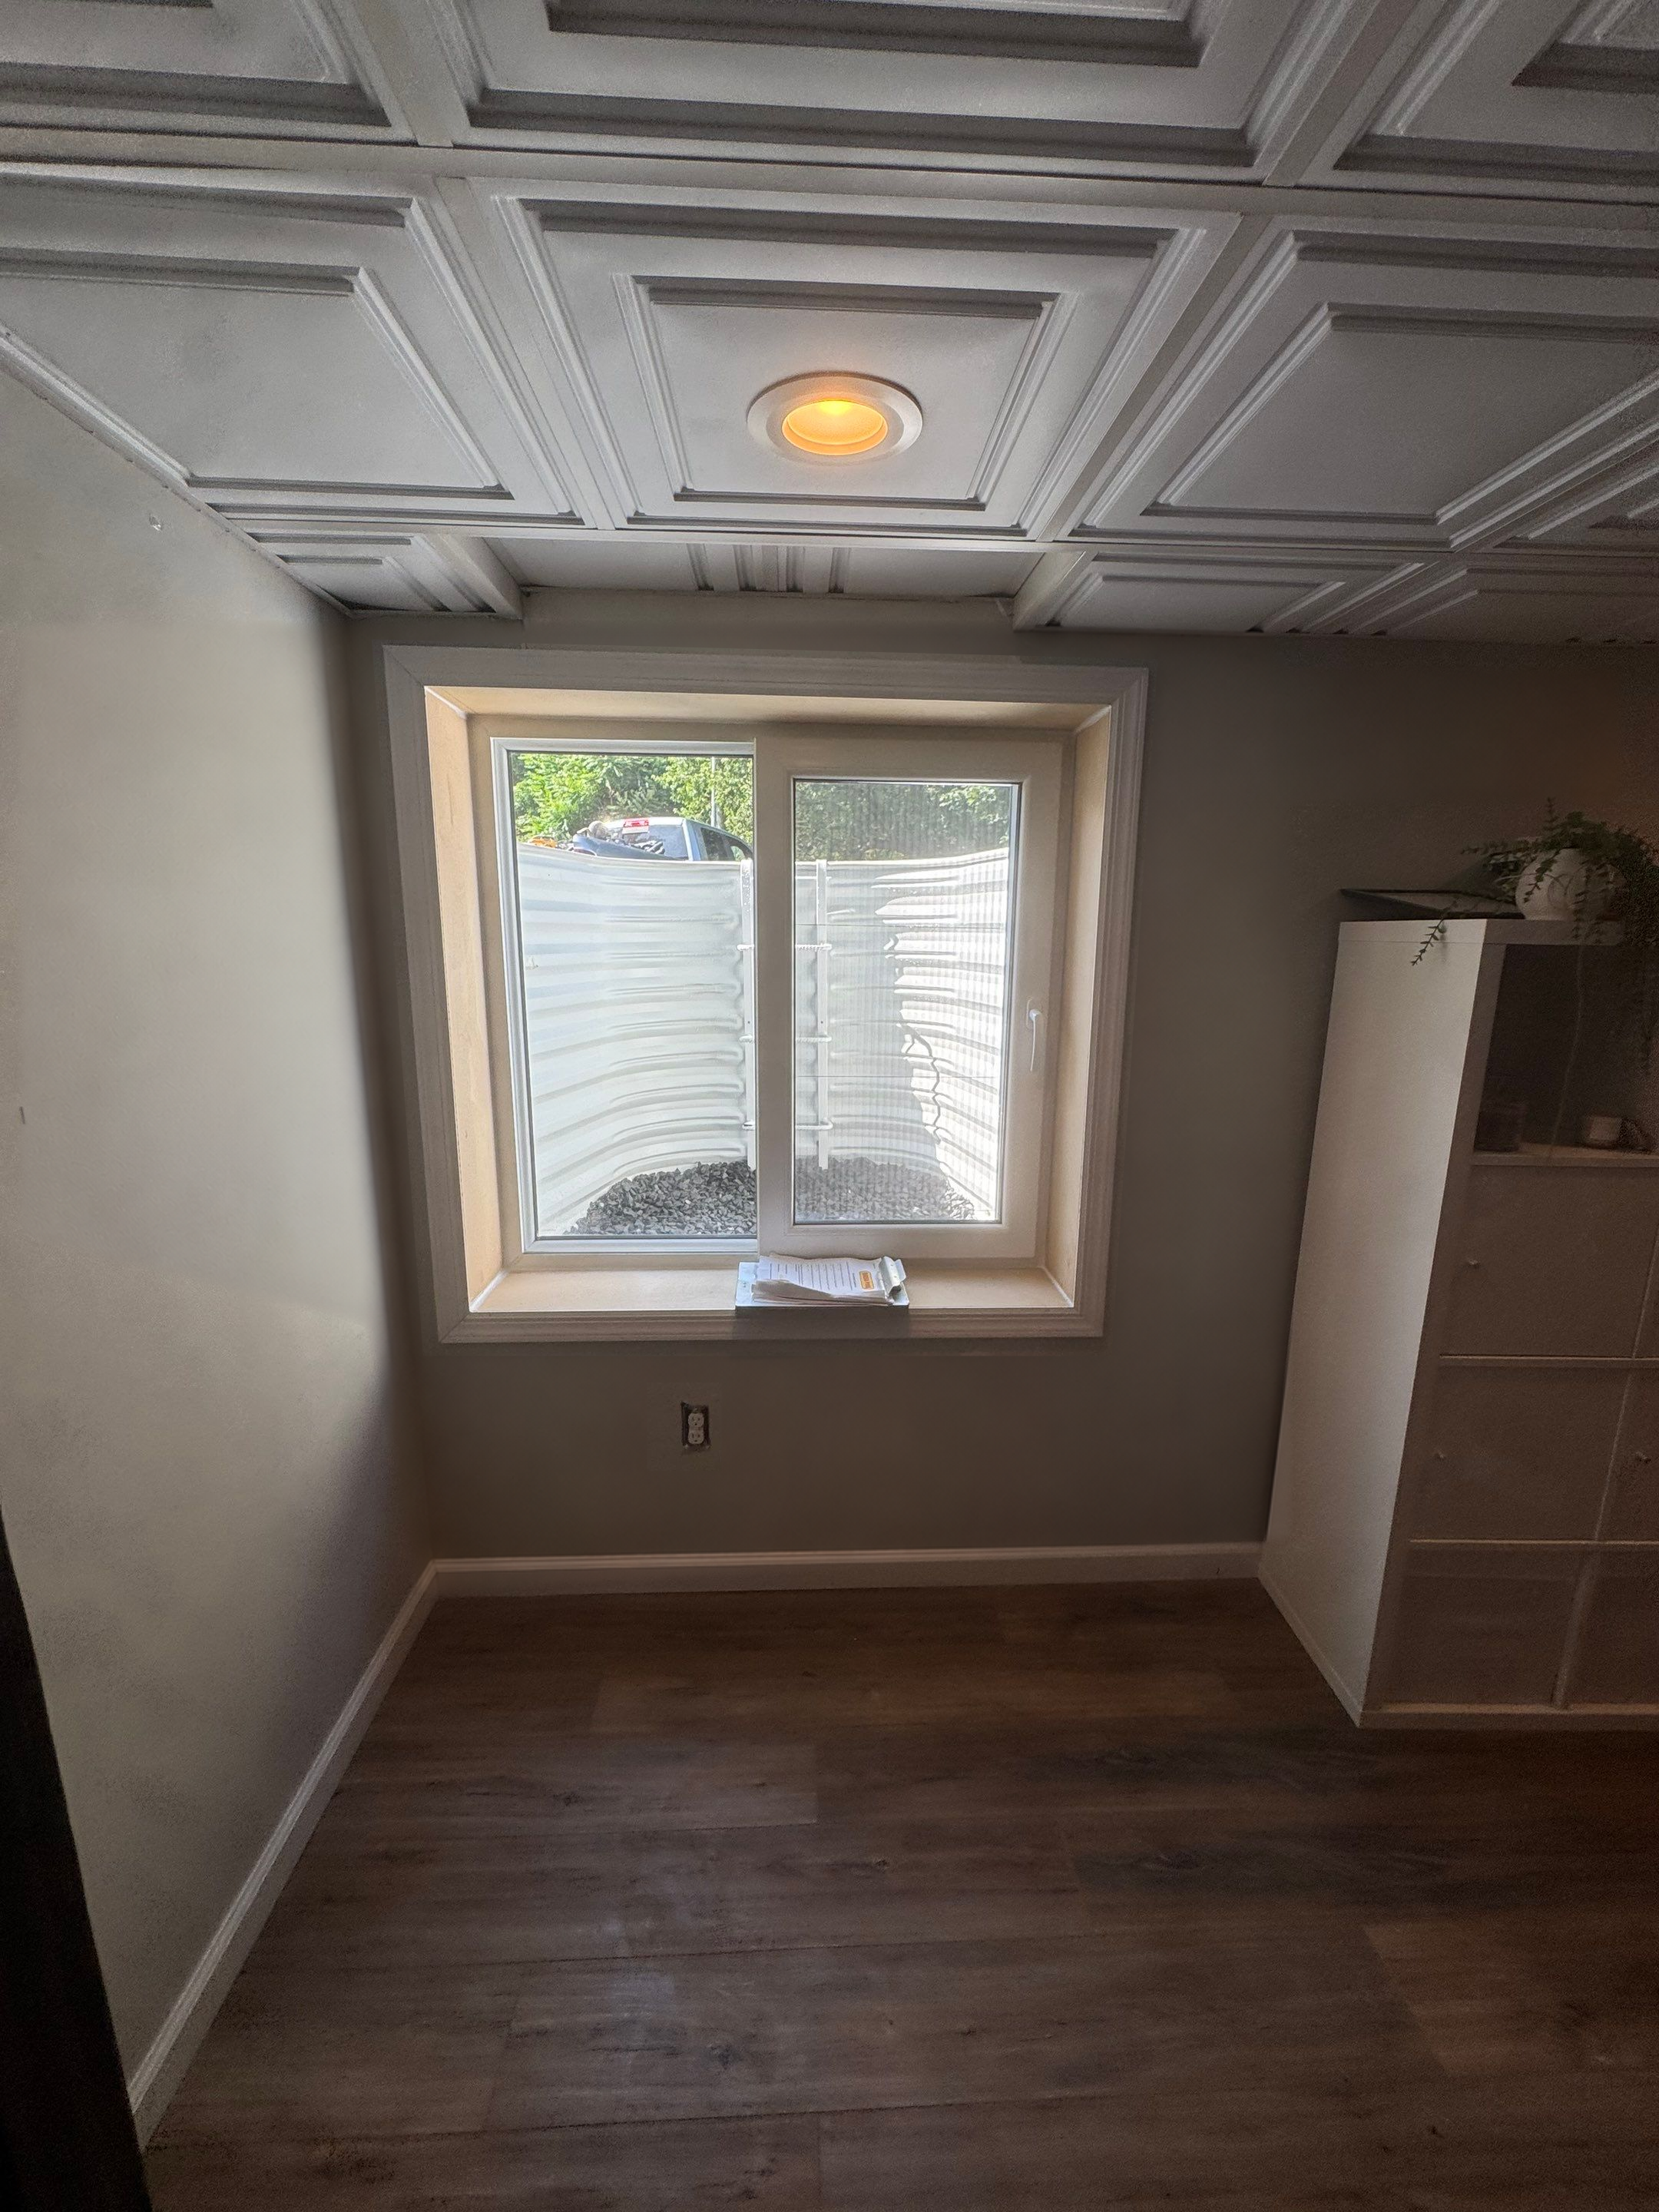
The Glastonbury comparison places the larger window below an existing patterned ceiling. It provides a practical reference for discussing protection of finished interiors and the boundary between installation and other finish work.
Explore the Glastonbury project story ↗What to send with your enquiry.
- Company name, project contact, town, and whether you are the GC or a specialist trade.
- Installed scope or supply enquiry, number of openings, and current drawings.
- Construction stage, desired milestones, and other trades involved.
- Interior/exterior photos showing access and known constraints.
- Who handles permits, design, inspections, and finish/restoration work.
- Who is authorized to approve the proposal and any changes.
The brief is a blank planning checklist. Attach relevant photos or drawings in your email app after reviewing your message.
Questions from contractors & remodelers.
Can Egress Pros work within a larger remodeling project?
Discuss the project with the Connecticut team and define the installation package, access, separate trades, and sequence in the proposal. The best starting point is the current plan and the milestones that depend on the opening.
Is every job a one-day installation?
Do not treat that as a universal scheduling promise. Ask for the expected sequence for the actual scope, access, conditions, approvals, and restoration work. Confirm the installation commitment directly with the team.
Can I request a supply-only option?
Identify that request in the brief. The brand advertises product and contractor programs, but current Connecticut availability, compatibility, responsibilities, and terms need confirmation before ordering.
Who is responsible for permits and inspections?
Agree that in the project arrangements and confirm the applicable process with the local building department. The general contractor’s schedule should identify the named applicant or permit contact and who requests each required inspection.